The role of air operated diaphragm pump has been greatly appreciated by people in the industry. Because the pneumatic diaphragm pump plays an important role in the transportation of dangerous and corrosive media, how should it be used correctly to increase the service life of the pneumatic diaphragm pump? What are the methods of use?
1. Installation and startup:
Place the air membrane pump as close to the product as possible, so that the suction pipeline is short and the number of configured parts is reduced. Do not reduce the pipeline diameter. In order to extend the life of the diaphragm, keep the pump as close as possible to the liquid being pumped. When the inlet pressure exceeds 10 feet (3 meters) of liquid column, a pressure relief adjustment device needs to be installed to extend the life of the diaphragm. If hard piping is installed, use a short length of flexible connection between the pump and the pipe. Flexible connection can reduce vibrations and twists in the pipes, and use a surge tank to further reduce pulsations in the fluid.
2. Supply air to the pneumatic diaphragm pump:
The air supply pressure of the pneumatic diaphragm pump shall not exceed 7KG pressure. Setting the pressure within 1~6KG can increase the service life of the diaphragm. Connect the air inlet of the pump to an air source with sufficient capacity and pressure that meets the design requirements. If the air supply line is hard pipe, install a short length of flexible connection between the pump and the air pipe to reduce twisting. In addition to the air inlet cover, the weight of the air inlet pipe and pressure regulating filter must also be supported in some way. Failure to support the piping may damage the pump. A pressure regulating valve must be installed to ensure that the air supply pressure does not exceed the specified range.
3. Inspection before operation:
Before working on the diaphragm pump, check all fixings to prevent looseness, tighten the loose places to avoid leakage, and fix them with the method described in the card attached to the pump.
4. Air intake and starting:
When starting, the air valve opens about 1/2 to 3/4 turn. After the pump is started, open the air valve to increase the air flow to achieve the required flow rate.
5. Exhaust:
If the diaphragm is broken, the liquid or air will enter the air port of the pump and be discharged into the atmosphere. When extracting dangerous or toxic substances, pipes need to be discharged to a suitable place for safe treatment. If the pump is submerged in the liquid, the air must be discharged from the liquid surface, and the exhaust pipe cannot be smaller than 1" (2.45CM). Reducing the diameter of the air pipe will limit the air flow and reduce the utilization rate of the pump. When the liquid level is high When using a pump, the discharge port needs to be at a higher place to prevent siphoning. Under certain temperatures and humidity, the discharged air may freeze. Using air drying can eliminate most of these problems.
6. After use:
If it is used to transport easily solidified liquid, in order to prevent damage to the pump, the pump must be thoroughly cleaned after each use. (Product left in the pump after use has dried or stuck to the pump, causing problems with the diaphragm and valves before the next start-up). In freezing temperatures, the pump must be drained after any use.
Troubleshooting Pneumatic Diaphragm Pumps
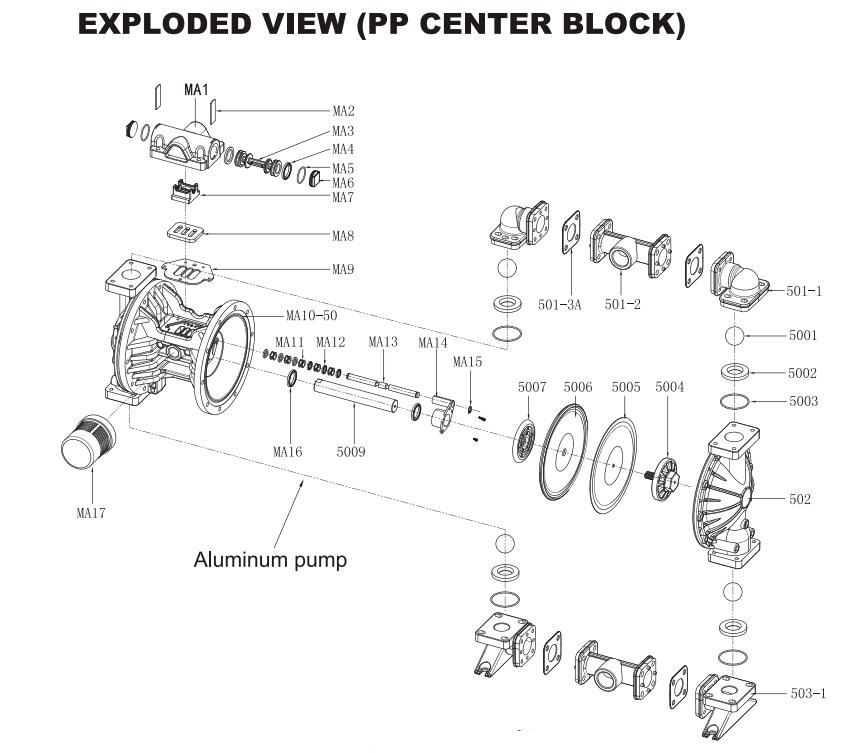
1. Before disassembling the pneumatic diaphragm pump, mark the left and right air chambers and liquid chambers respectively to facilitate subsequent reassembly.
2. Use a wrench to loosen the small clamp connecting the outlet pipe and the liquid chamber. The valve ball and seat can be seen after removing the outlet pipe. Then take out the ball and seat and check other spare parts of the pump whether have wear, chemical corrosion, cracks phenomenon or not.
3. Use a wrench to separate the liquid chamber and the intermediate body of the pump. The diaphragm and diaphragm splint can be seen after removing the liquid chamber.
4.Use tools or wrenches to fix the left and right edges of the outer plywood of the diaphragm to separate the diaphragm device from the intermediate body. Then loosen the diaphragm assembly by turning it clockwise. After removing the outer clamping plate of the diaphragm, take the shaft out of the intermediate body.
5. Use clamps to separate the shaft from the diaphragm device, and check whether the shaft, splint, and diaphragm have damaged and corroded phenomenon or not.
6. Install from step 5 to step 1
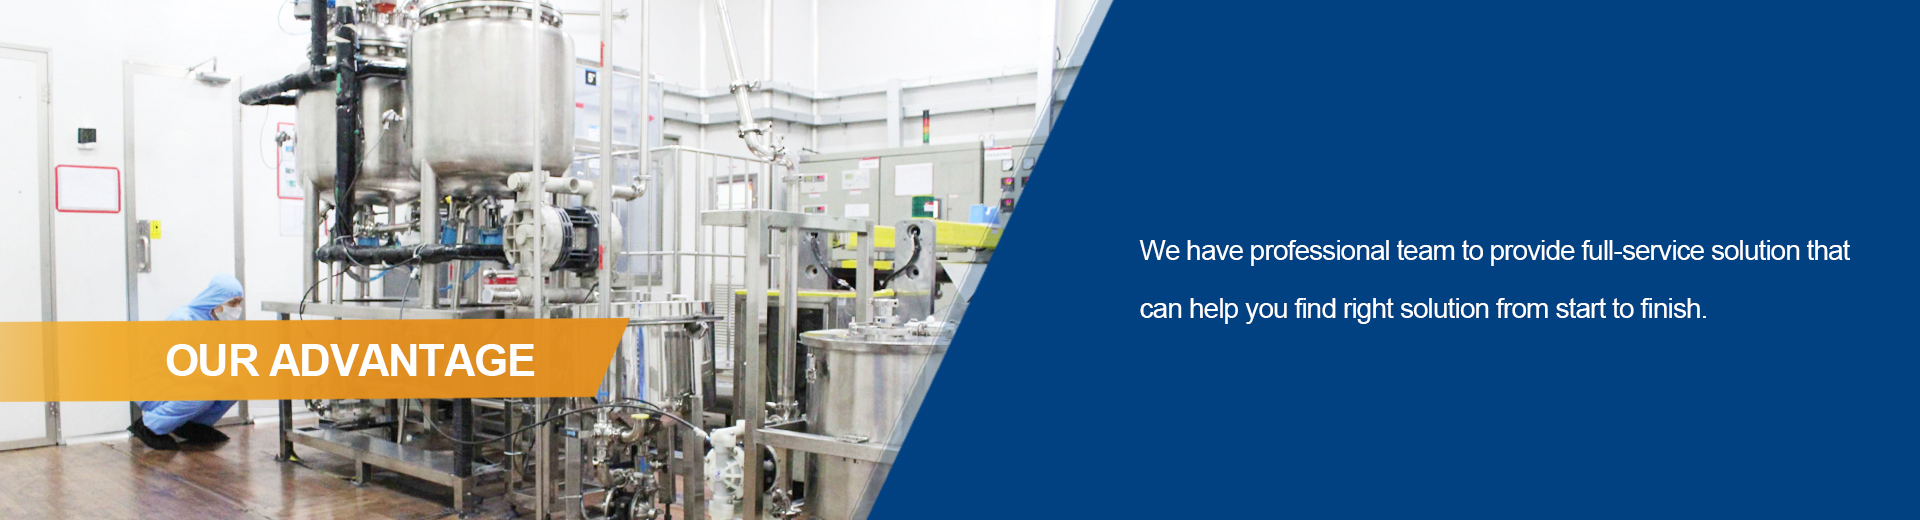
Please tell us your requirement and liquid, We have professional team to provide full-service solution that can help you find right solution from start to finish.
Wenzhou Defu Machinery Co., Ltd.
Address : No.9, Wenhui Road, Puzhou Street, Longwan District, Wenzhou, Zhejiang, China
Email : sales9@defupump.com
WhatsApp : +86-18957752760
Contact Person (Charger) : Ms Cindy


Scan it